

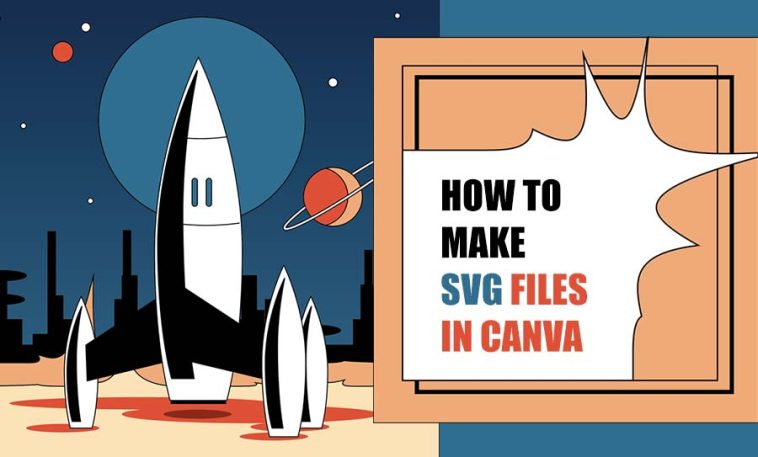
Wondering how to make SVG files in Canva? Scalable Vector Graphics (SVG) files are widely used in graphic design for their ability to maintain image quality at any size. Canva, a popular online design tool, allows users to create stunning SVG files without the need for complex software. In this step-by-step guide, we’ll walk you through the process of creating SVG files in Canva. Enabling you to produce high-quality, resizable graphics for various purposes.
Step 1: Accessing Canva
1.1 Visit Canva’s Website. Open your preferred web browser and navigate to Canva’s official website.
1.2 Sign In/Create Account. Log in to your existing Canva account or create a new one if you’re new to the platform.
Step 2: Starting a New Design
2.1 Click “Create a design”. Once you’re logged in, click on the “Create a design” button located on the upper right corner of the dashboard.
2.2 Choose Custom Dimensions. In the design type options, select “Custom dimensions” to specify the dimensions you want for your SVG file. Keep in mind that SVG files are resolution-independent, so you can choose dimensions that suit your needs.

Step 3: Designing Your SVG
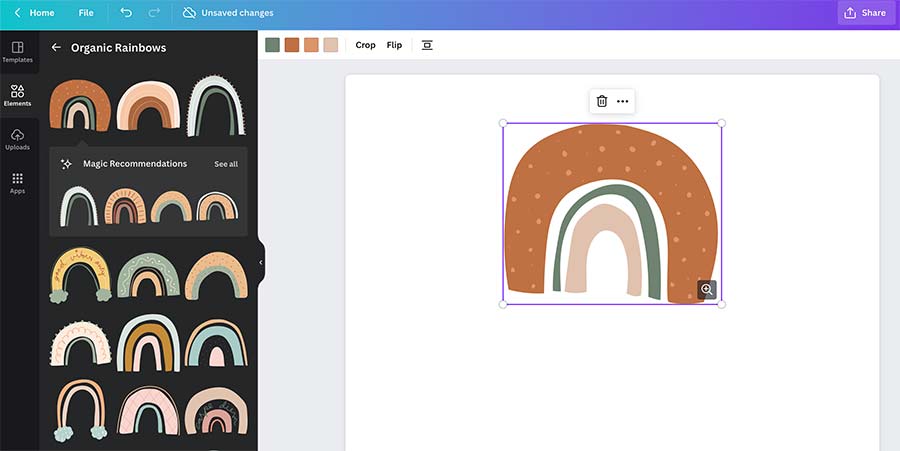
3.1 Add Elements. On the left sidebar, you’ll find a wide range of design elements, including text, shapes, images, and icons. Drag and drop the elements you want to include in your SVG onto the canvas.
3.2 Customize Elements. Select each element and customize its color, size, position, and other properties using the options in the top toolbar.
3.3 Text and Fonts. To add text, click the “Text” option from the sidebar, type your text, and choose a font from the font library. Adjust font size, style, alignment, and spacing as needed.
Step 4: Creating Shapes
4.1 Adding Shapes. Click the “Elements” tab on the sidebar and choose from various shapes such as rectangles, circles, and triangles. Drag the selected shape onto the canvas.
4.2 Resizing and Styling. Resize and style the shape using the options available in the top toolbar. You can adjust the fill color, stroke color, stroke width, and other attributes.
Step 5: Exporting as SVG
5.1 Group Elements (Optional). If your design includes multiple elements, select them all and group them by clicking “Group” in the top toolbar. Grouping keeps elements together during the export process.
5.2 Export as SVG. Click the “Download” button in the top right corner and select “SVG” as the file type. Choose the appropriate options for your export, such as whether to include bleed and crop marks.
Step 6: Import SVG to Canva
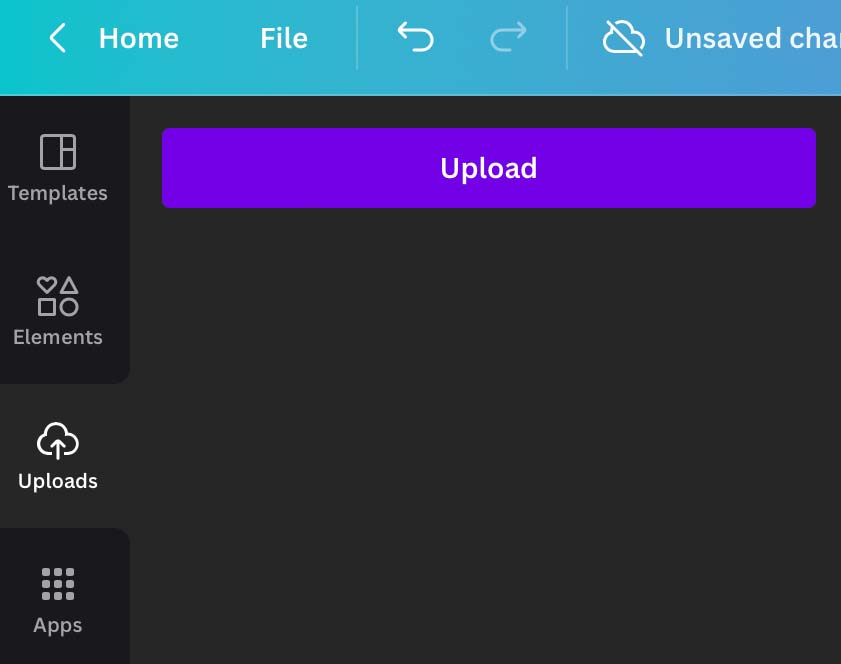
6.1 Click the Upload Media Button and upload the SVG file you wish to import into a design template.
6.2 You can also convert your SVG file to PNG before you import the file to Canva.
Get FREE SVG files for your Canva Designs
Browse through our library of free SVG files which includes SVG icons and SVG logos that you can use in your Canva templates. Make use of Canva SVG Editor to make some minor adjustments in seconds, like changing individual colors.
How to make SVG files in Canva
Creating SVG files in Canva is a straightforward process that empowers designers and creators to produce versatile and high-quality graphics suitable for a wide range of applications. By following the steps outlined in this guide, you can design visually appealing and scalable graphics that retain their clarity and sharpness, whether used for web design, print materials, branding, or more. Experiment with Canva’s features to unlock your creativity and bring your ideas to life in the form of stunning SVG files.
Download the Design Elements Utilized to Create the Highlighted Image:
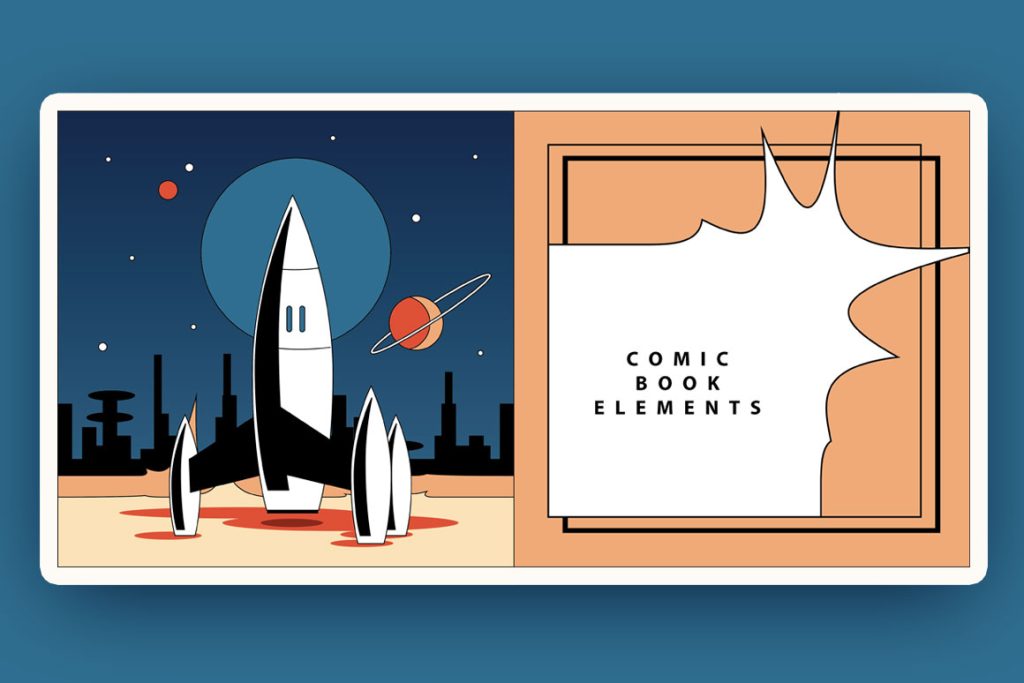
Vintage Space Art with Comic Book Speech Bubble.